How to Prevent Paint Protection Film Peeling
Table of Contents
- Why Paint Protection Film Edges Lift and Peel
- PPF Installation and Curing Time: The Foundation of Edge Security
- How to Clean Paint Protection Film Without Lifting the Edges
- Pressure Washing Paint Protection Film: Nozzle Distance and Technique
- When PPF Edge Lifting Happens: Safe Step-by-Step Response
- Heat Sealing, Repair, or Replacement: Choosing the Right Fix
- Warranty, Installer Responsibility, and Long-Term Prevention
- Frequently Asked Questions
Last Updated: October 12, 2026
Why Paint Protection Film Edges Lift and Peel
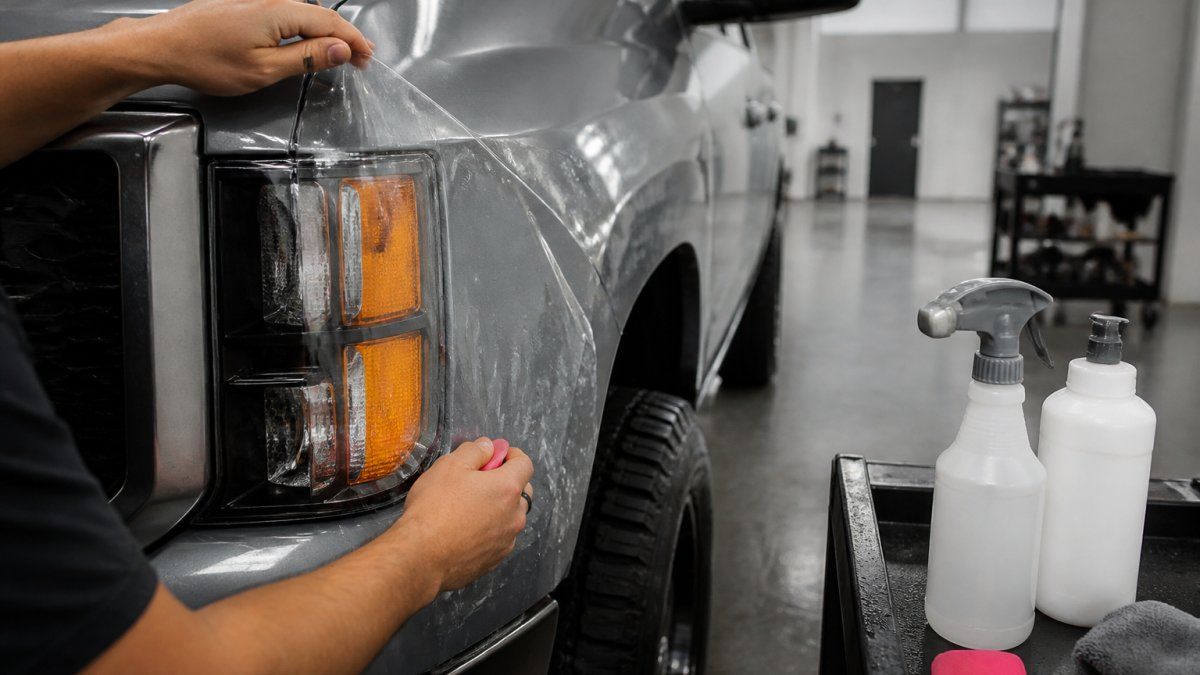
Paint protection film peeling almost always starts at the edge.
PPF edge lifting is rarely a film defect, it is a bonding problem.
A few things cause most edge failures:
- Trapped moisture or air under the edge during installation
- Driving too fast too soon after delivery
- Washing too soon after the film goes on
- Pressure washers aimed at the seam instead of across it
At S.C.A. Detailing, we install paint protection film and self-healing ceramic coatings across the Salem area.
Almost all of this is preventable. Below: how to prevent paint protection film peeling from day one, and what to do if an edge has lifted.
Diagnosing the Root Cause by Location and Symptom
Where the film lifts tells you why. Read the location before touching anything.
- Corners and tight curves: Usually an installation issue. The film was stretched too far or not enough adhesive was activated.
- Along a straight panel edge: Often a washing or pressure-washing problem. The edge took direct water pressure.
- Under a wheel arch or lower door: Road grit and moisture. These areas take the most abuse.
A corner lift on days-old film is likely settling. A straight-edge lift after a car wash is probably nozzle damage.
Normal Film Settling vs. a Defect
New film can look slightly lifted at the edges for the first week or two. That is normal, the adhesive is still bonding, and small bubbles or a faint edge line often disappear as it settles.
A defect looks different:
- The edge is visibly curled and stays curled after 30 days
- Water gets under the film and stays there
- The lifted area grows rather than shrinks
If any of those are true, it is not settling, it needs a professional look.
PPF Installation and Curing Time: The Foundation of Edge Security
PPF installation and curing time is the biggest factor in whether edges stay down. Installed correctly on a prepped surface and cured before it meets water, edges hold for years. Curing is not instant: the adhesive needs time, warmth, and no interference to reach full bond strength.
What to Expect in the First 30 Days After Installation
The first month is when the film is most vulnerable:
| Timeframe | What's Happening | What You Should Do |
|---|---|---|
| Days 1-3 | Adhesive is setting; edges are soft | No washing, no water, park indoors if possible |
| Days 4-7 | Film is bonding; small bubbles may appear | Still no washing; avoid rain where you can |
| Weeks 2-3 | Film settling; bubbles start to fade | Gentle hand wash only if needed |
| Week 4+ | Bond is largely set | Normal gentle care; avoid pressure washing edges |
How to Clean Paint Protection Film Without Lifting the Edges
How to clean paint protection film comes down to three rules: gentle soap, soft tools, and no direct pressure at the edges. Hand washing, touchless washes, and brush washes each stress a film edge differently, and only one is fully under your control.
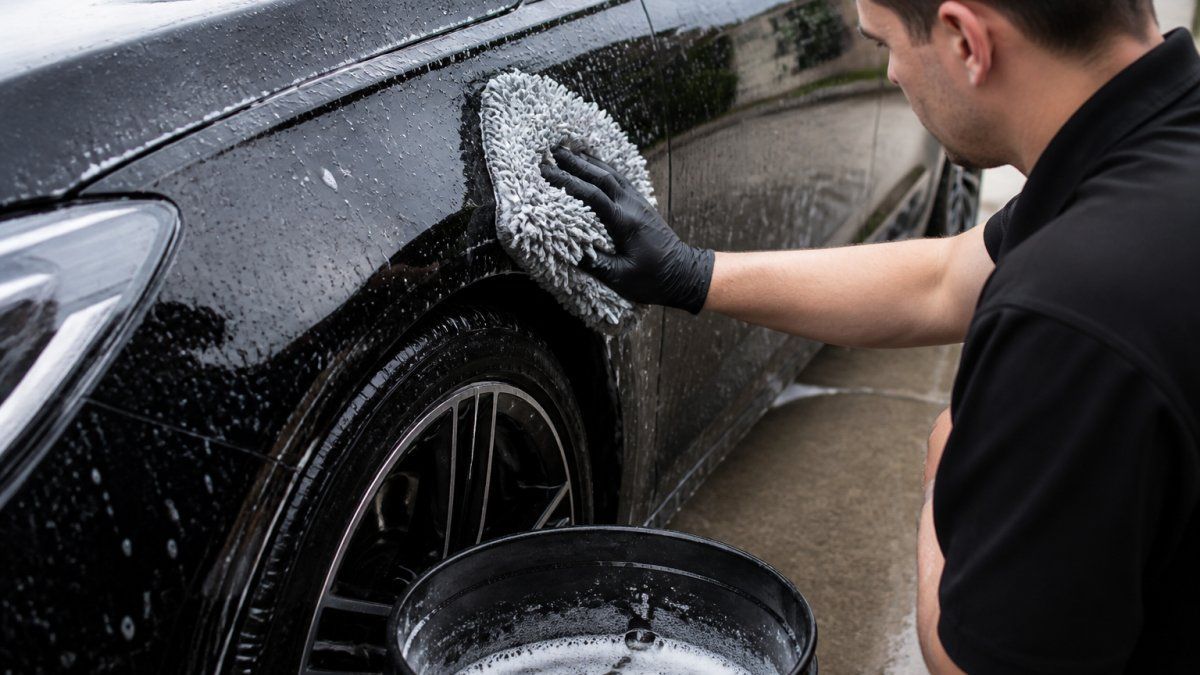
Use a pH-neutral car shampoo; degreasers and alkaline cleaners attack the acrylic adhesive over time. Use two buckets, one for soap, one for rinsing your mitt, to keep grit off the film.
Hand Washing: The Safest Method
Hand washing is the only method where you control pressure, angle, and contact at every edge:
- Rinse the car with a gentle stream, never a hard jet.
- Wash top-down with a soft microfiber mitt and pH-neutral shampoo.
- Wash film edges last , with light pressure and the mitt moving across the edge, not along it.
- Rinse with a slow flow of water.
- Dry with a clean microfiber towel, patting rather than dragging at edges.
Touchless Automatic Washes: Acceptable With Caveats
A touchless wash uses high-pressure water and strong detergents, no brushes. No contact catches an edge, but the trade-offs are real:
- The detergents are often alkaline and can degrade adhesive over repeated use.
- The high-pressure jets are aimed by a machine, not a person, so you cannot steer them away from seams or wrapped corners.
- Pre-soak cycles can dwell on an edge for longer than a hand wash would.
If you use a touchless wash, choose a pH-neutral option when available and inspect your edges afterward. It is gentler than a brush wash, but not a free pass.
Brush Automatic Washes: Avoid Them
Brush automatic washes are the worst thing you can do to a film edge. The spinning bristles catch a lifted corner and peel it back in one pass, and even a bonded edge loses to months of abrasion at the trim line. If you must use an automatic wash, use a touchless one, never a brush tunnel.
Drying and Detail Sprays
Drying is where a lot of edge lifting happens. A clean microfiber towel with light pressure and straight-line strokes across the edge is safe; a dirty towel dragged along an edge is not. Apply quick detailer or spray wax with a plush microfiber, buffing across edges, not into them, and avoid petroleum distillates or solvents that soften the adhesive.
What to Skip Entirely
- Degreasers and engine-bay cleaners on film panels
- Bug and tar removers left to dwell on edges
- Clay bars over a lifted or soft edge
None are worth the risk when a pH-neutral hand wash takes the same time.
Pressure Washing Paint Protection Film: Nozzle Distance and Technique
Pressure washing paint protection film is safe if you control distance and angle. Get either wrong and you will lift edges, especially at corners and seams.
- Keep the nozzle at least 12 inches from the film surface.
- Use a wide fan tip , never a pinpoint zero-degree tip.
- Aim the spray across edges, never straight into them.
If unsure, hand wash the film areas and pressure wash only the wheels and lower body.
When PPF Edge Lifting Happens: Safe Step-by-Step Response
If an edge has lifted, stop touching it. Pressing it down dry pushes grit into the adhesive and worsens the bond. Read the situation before you act.
The Do-Not List
These moves turn a small lift into a panel replacement:
- Do not press it down dry. You will trap debris in the adhesive.
- Do not pick at it. A fingernail lifts more film than it fixes.
- Do not trim it with scissors or a blade. You will cut into the film or the paint, and you will void any installer warranty.
The Safe Response, Step by Step
- Stop touching it. Leave the lifted edge as it is.
- Photograph the area in good light, from a few angles, with something for scale.
- Note when it started and what you did in the days before. A car wash, pressure wash, hot day, cold snap, or recent install are useful clues.
- Check the film's age. Under 30 days, it may still be settling. Older and growing, it is a real failure.
- Call your installer and describe the location and symptom. Send the photos.
- Do not attempt a repair yourself until the installer has seen it. A DIY fix on a warrantied panel can void coverage.
When Not to Press, Heat, or Trim
Heat sealing and edge resealing work only on a clean edge with no trapped grit and no stretched film. Skip DIY if:
- You can see dirt, grit, or dried soap under the lifted edge.
- The film is curled, not just lifted.
- The lift is along a butt seam where two panels meet.
In any of those cases, the correct move is a professional inspection, not a heat gun.
Warranty and Installer Responsibility
Most quality PPF installs carry a warranty covering film defects and installation errors, including edge lifting within the first year on a properly cared-for vehicle.
What to have ready when you contact your installer:
- The original install invoice and warranty paperwork
- The date of installation
- Photos of the lifted edge, taken before you touched it
Owners often assume the lift is their fault and avoid calling. Installers see edge lifting often enough to distinguish settling, an installation defect, and owner-caused damage in minutes. Calling early is almost always cheaper than waiting.
What a Professional Repair Looks Like
Expect the installer to clean the lifted area, reactivate or replace the adhesive, and re-bond the edge with controlled heat and pressure. Contaminated adhesive may mean trimming back to clean film and resealing; stretched film or spent adhesive means panel replacement. None of it is DIY-friendly, and it is covered under a typical installation warranty when the cause is installation rather than owner damage.
Heat Sealing, Repair, or Replacement: Choosing the Right Fix
Heat sealing reactivates the adhesive and presses a lifted edge back down, but only on a clean edge with no trapped grit, otherwise it seals dirt in.
Use this decision guide:
| Situation | Best Fix | Why |
|---|---|---|
| Small lift, clean edge, under 30 days | Heat sealing by installer | Adhesive is still active |
| Small lift with visible grit | Edge trim and reseal | Dirty adhesive will not bond |
| Lift along a butt seam | Professional reseal | Seams need even pressure |
| Large lift or curled film | Panel replacement | Adhesive is spent |
Heat sealing is not a DIY job. It takes controlled heat and the right tools. A heat gun in the wrong hands will melt the film or damage the paint underneath.
Warranty, Installer Responsibility, and Long-Term Prevention
A quality installation comes with a warranty, and most first-year edge lifting caused by installation is covered. That is why we document every install and stand behind our work at S.C.A. Detailing.
Long-term prevention is simple:
- Inspect edges every few months, especially before and after winter.
- Hand wash when you can; pressure wash with care when you cannot.
- Avoid harsh chemicals and automatic brush washes.
If unsure whether a lift is covered, ask your installer before touching anything. A quick look now beats a full re-wrap later.
Protecting your paint is a long game, and edge lifting is the most common way PPF fails early. Detailing, we install paint protection film and self-healing ceramic coatings with meticulous prep and yearly training on the latest techniques.
Frequently Asked Questions
Why do the edges of paint protection film lift?
PPF edges lift when the acrylic adhesive bond is compromised by moisture, heat, or contamination. Common causes include pressure washing too close to the edge, using harsh chemicals that weaken the adhesive, or picking at the film before it has fully cured. Edges also lift if the installer did not properly wrap or heat-seal them during installation. In most cases, the film itself is fine, but the edge has lost its grip on the factory paint.
Can you fix paint protection film that is peeling?
Yes, if the film is still clean and the adhesive has not collected debris, a professional can often re-adhere a lifted edge using heat and pressure. The area must be cleaned and dried first. If the adhesive is contaminated or the film has stretched, replacement of that panel is the better option. Attempting to glue a lifted edge back down with household products usually makes things worse and can damage the paint.
How long should you wait to wash a car after PPF installation?
Wait at least seven days before the first wash. This allows the acrylic adhesive to fully bond to the paint. During that first week, avoid water, harsh chemicals, and touching the edges. After seven days, hand wash with a gentle car shampoo and a soft mitt. Do not use a pressure washer on the edges for at least 30 days, and never aim a nozzle directly at a seam.
Can pressure washing cause PPF to peel?
Yes. A pressure washer can force water under a film edge and break the adhesive bond. Keep the nozzle at least 12 inches from the film surface and never aim it directly at an edge or seam. Use a wide spray pattern and a lower pressure setting. If you must use a pressure washer, stay at a 45-degree angle to the panel and keep the stream moving. Hand washing is always safer for PPF.