Is Professional Paint Correction Worth It? Cost vs. Results
Table of Contents
- What Paint Correction Actually Does to Your Finish
- Professional Paint Correction Cost: What You're Actually Paying For
- Paint Correction vs. DIY: Where the Real Difference Shows
- How Long Does Paint Correction Last?
- Paint Correction Before Selling a Car: Does It Pay Off?
- A Decision Framework: When Correction Makes Sense
- Frequently Asked Questions
Last Updated: October 4, 2026
What Paint Correction Actually Does to Your Finish
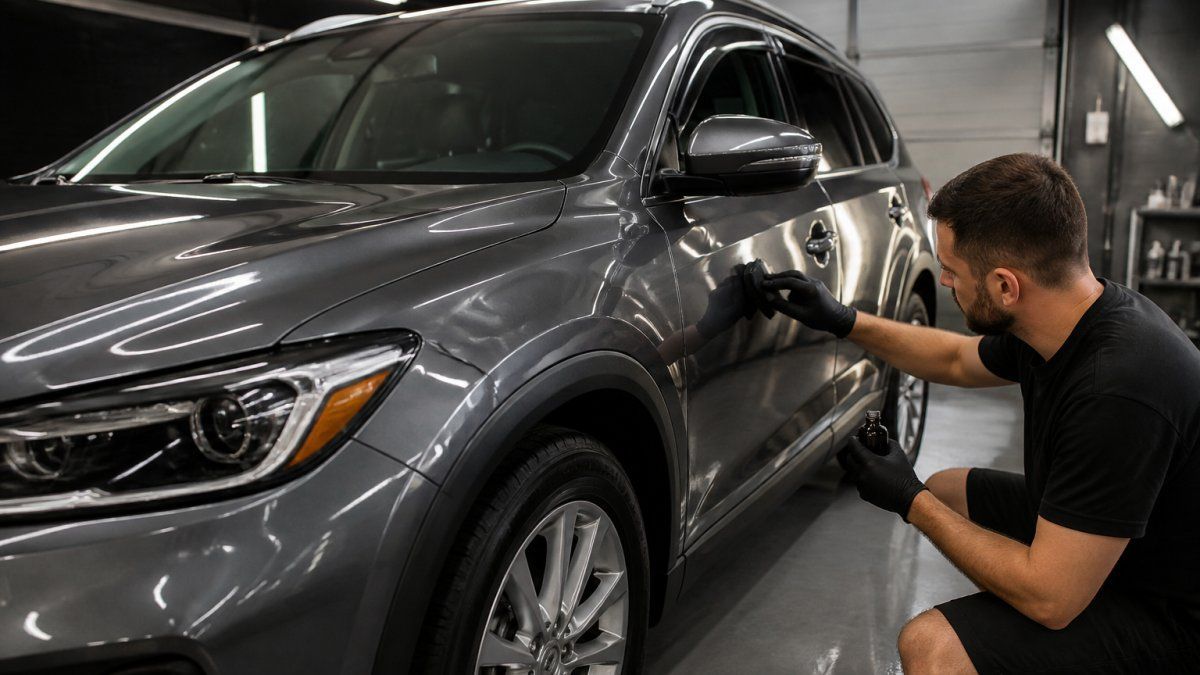
Paint correction is the machine polishing process that removes defects from your vehicle's clear coat to restore gloss and clarity. At S.C.A.
The difference shows up the moment you park under direct sun. A corrected finish reflects sharp, mirror-like images. An uncorrected finish looks hazy, with cobweb-like marks that no amount of wax will hide.
Below, we break down what polishing can realistically fix, what it cannot, and how to decide whether the investment makes sense for your vehicle.
Swirl Marks, Light Scratches, and What Polishing Removes
Swirl marks are fine circular scratches caused by improper washing, drying, or automated brush car washes. They sit in the clear coat, the transparent top layer that protects your base coat and color.
A machine polisher with the right polishing pad and abrasive compound gradually removes a microscopic layer of clear coat until the scratches are gone. What remains is a level surface that reflects light cleanly.
This is why safe washing habits matter after correction. According to consumer car care guidance from the American Automobile Association, improper washing techniques remain one of the most common causes of paint damage. Two-bucket washing, clean microfiber towels, and touchless methods protect the work you paid for.
The Limits: Deep Scratches and Clear-Coat Thickness
Not every defect can be polished out. A scratch you can feel with your fingernail has likely passed through the clear coat into the base coat or primer. Polishing cannot rebuild that material.
Every pass with a machine polisher removes a small amount of clear coat, and that layer is finite. A paint depth gauge lets a trained detailer measure clear-coat thickness before touching the surface. This is the step DIY kits skip, and it is where real damage happens.
Professional Paint Correction Cost: What You're Actually Paying For
Professional paint correction cost reflects three things: labor hours, the severity of your paint defects, and the level of correction you choose. A one-step polish on a well-kept daily driver takes a fraction of the time a multi-stage correction on a neglected finish requires.
Here is how the work typically breaks down by correction level:
| Correction Level | Defects Removed | Typical Scope | Best For |
|---|---|---|---|
| One-step polish | Light swirls, minor haze | Single pass, gloss boost | Well-kept daily drivers |
| Two-step correction | Moderate swirls, light scratches | Compound plus polish | Used cars, pre-sale prep |
| Multi-stage correction | Heavy defects, deep marring | Multiple passes per panel | Show cars, neglected paint |
Why Two Quotes for the Same Car Can Differ by Hundreds
Most shops price correction on labor hours, not a flat rate. A one-step polish on a compact sedan commonly runs a few hours of bench time. A multi-stage correction on a full-size SUV or a heavily swirled finish can run a full day or more, and that difference, not the product cost, is what moves the number.
Four variables drive the spread between quotes:
- Vehicle size and panel count. More surface area means more passes, more pads, and more time. A two-door coupe and a three-row SUV are not the same job even with identical paint condition.
- Defect severity. Light swirls come out in one pass. Deep marring, water spots etched into the clear coat, and years of automated brush-wash damage may need two or three passes per panel.
- Paint hardness. Some finishes are soft and correct quickly; others are hard and resist abrasives, which means more time and more aggressive steps to reach the same result.
- Prep and protection. A wash, chemical decontamination, and clay treatment usually precede polishing, and a coating or sealant usually follows. Those steps are labor too, and they belong in the written scope.
How to Read an Estimate Without Getting Burned
A quote that lists only a single number tells you almost nothing. Ask for a written scope that separates the correction level, the panels covered, and any protection applied afterward. A reputable shop inspects your paint under proper lighting, measures clear-coat thickness, and quotes based on what your vehicle actually needs. Pricing depends on vehicle size, condition, and the package you select, so we recommend requesting a written estimate rather than comparing headline numbers. The Federal Trade Commission's guidance on auto service pricing is clear that you are entitled to a written estimate before work begins.
The Cheapest Quote Is Usually the Most Expensive Outcome
A low bid often means one of three shortcuts: fewer passes than the defects require, no paint-depth measurement before polishing, or no protection after. Each one shows up later as swirls that return within weeks or, worse, a burned-through panel that needs a repaint. When you compare estimates, compare scope, passes, panels, measurement, and protection, not just the bottom line.
Paint Correction vs. DIY: Where the Real Difference Shows
The paint correction vs. DIY question comes down to equipment, technique, and risk tolerance. Store-bought kits can improve gloss on a small area, but they carry real downsides.
- Machine control: Professional dual-action polishers run at controlled speeds. Inexperienced hands on a rotary tool can burn paint in seconds.
- Product matching: The right compound and pad combination depends on your paint's hardness and defect severity.
- Measurement: A paint depth gauge tells a pro when to stop. DIY kits rarely include one.
- Time: A full correction can take a professional the better part of a day. Doing it yourself often stretches across weekends.
A common mistake is buying an aggressive compound and attacking the whole car. That is how clear coat gets destroyed. If you want to try DIY, start with a test spot on a lower panel and use the least aggressive product that works.
How Long Does Paint Correction Last?
How long does paint correction last? The correction itself is permanent as long as the clear coat remains intact. The scratches you remove do not come back on their own.
What does return is new damage, and that depends entirely on how you maintain the vehicle. Without protection, most corrected finishes pick up fresh swirls within months of normal washing.
That is why we pair correction with a ceramic coating at S.C.A. Detailing.
Maintenance matters just as much as the coating itself. Safe washing, quality microfiber, and periodic inspections keep a corrected finish looking sharp for years rather than weeks.
Paint Correction Before Selling a Car: Does It Pay Off?
Paint correction before selling a car can improve sale appeal, but the resale return is rarely dollar-for-dollar. Buyers notice a glossy, defect-free finish, and a car that photographs well attracts more interest.
Be realistic about the math. Correction helps most on vehicles in otherwise good mechanical condition with paint that has swirls but no deep damage. On a high-mileage vehicle with rust or clear-coat failure, the money is better spent elsewhere.
A Decision Framework: When Correction Makes Sense
Most articles answer "is it worth it" with a list of scenarios. That is not a decision, it is a menu. A real framework starts with what your paint actually is, then matches the work to your ownership plans and budget. Here is how to run that check yourself before you ever call a shop.
Step 1: Inspect the Paint the Way a Detailer Does
Before any quote makes sense, you need to know what is in the finish. Three checks cover most of it:
- The fingernail test. Run a fingernail lightly across a scratch. If it catches, the defect has likely passed through the clear coat into the base coat or primer. Polishing cannot rebuild that material, it can only level what remains around it.
- The light test. Park under direct sun or a bright swirl-finder light. Cobweb-like marks that scatter light are swirls sitting in the clear coat. Dull, chalky patches that will not reflect at all usually mean clear-coat failure, which is a repaint issue, not a correction issue.
- The depth check. A paint depth gauge measures clear-coat thickness in microns. A trained detailer uses it to confirm there is enough material to polish safely. This is the step DIY kits skip, and it is where real damage happens.
Step 2: Match the Work to the Defect
Once you know what is in the paint, the decision narrows quickly:
- Swirls and light scratches in intact clear coat: Correction is the right tool. A one or two-step polish restores gloss at a reasonable cost.
- Defects you can feel, or scratches showing primer or bare metal: Correction will improve the surrounding area but will not erase the defect. Touch-up paint or a body shop is the honest answer.
- Failing clear coat, peeling, or rust: Correction is the wrong spend. Repainting is the only fix, and correction money is better saved toward it.
Step 3: Weigh Ownership Plans and Budget
Paint condition decides what is possible. Your plans decide whether it is worth doing now:
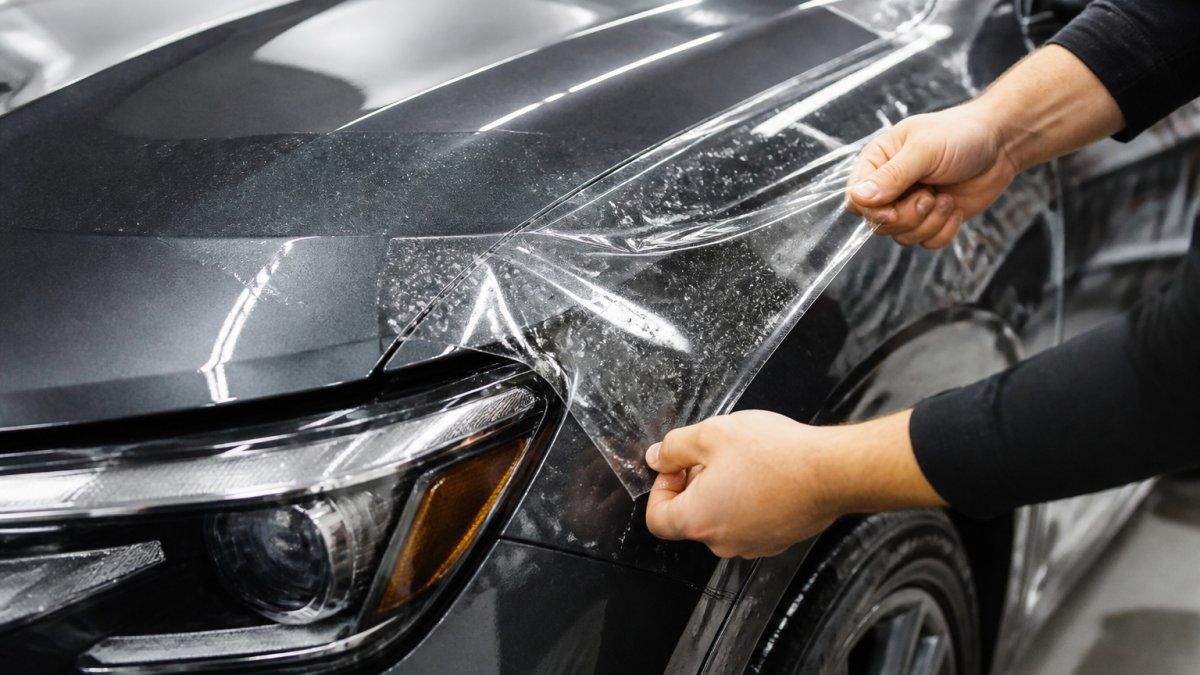
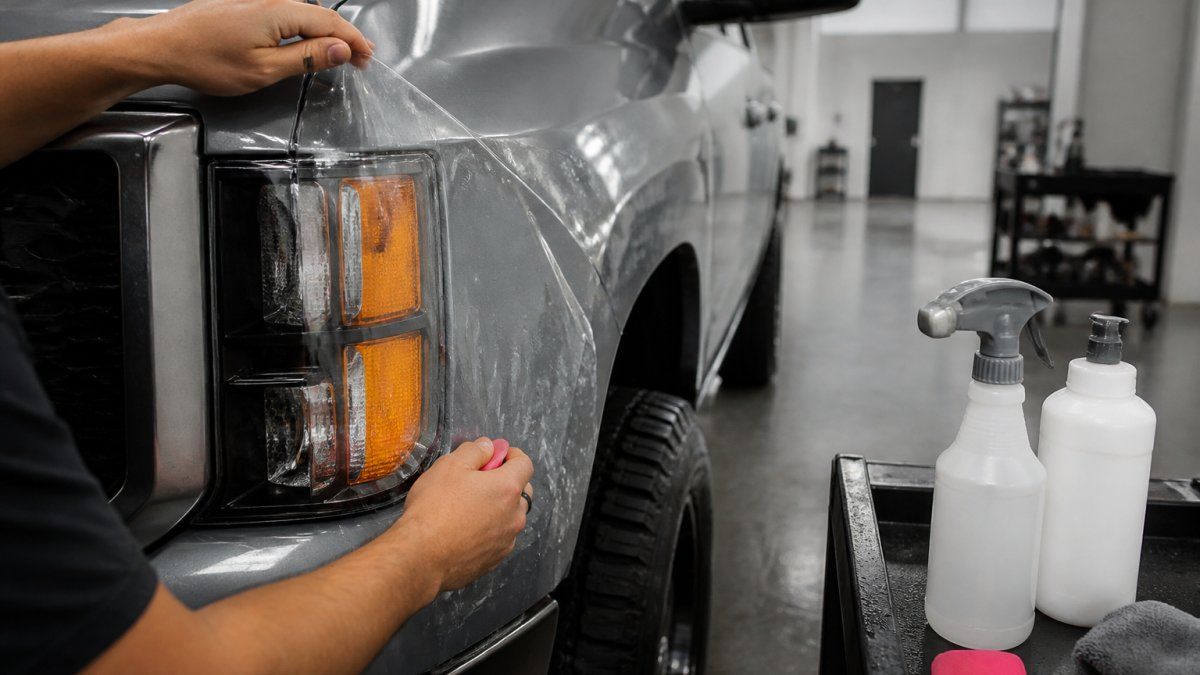
- New or nearly new vehicle: Yes, especially paired with a ceramic coating or paint protection film to preserve the factory finish.
- Used car with swirls but intact clear coat: Yes, a one or two-step correction restores gloss at reasonable cost.
- Daily driver you plan to keep: Yes, with protection and safe washing to maintain results.
- Selling within a year: Often yes, if the paint is otherwise sound and the car will photograph well.
- Deep scratches, rust, or failing clear coat: No, see a body shop about repainting or touch-up first.
- Budget is tight and paint is acceptable: Wait. Correction is a refinement, not a repair.
Step 4: Vet the Shop Before You Commit
A framework is only as good as the person executing it. Before you hand over the keys, confirm four things: the shop inspects under proper lighting, it measures clear-coat thickness before polishing, it runs a test spot on a hidden panel, and it gives you a written scope that names the correction level and any protection applied.
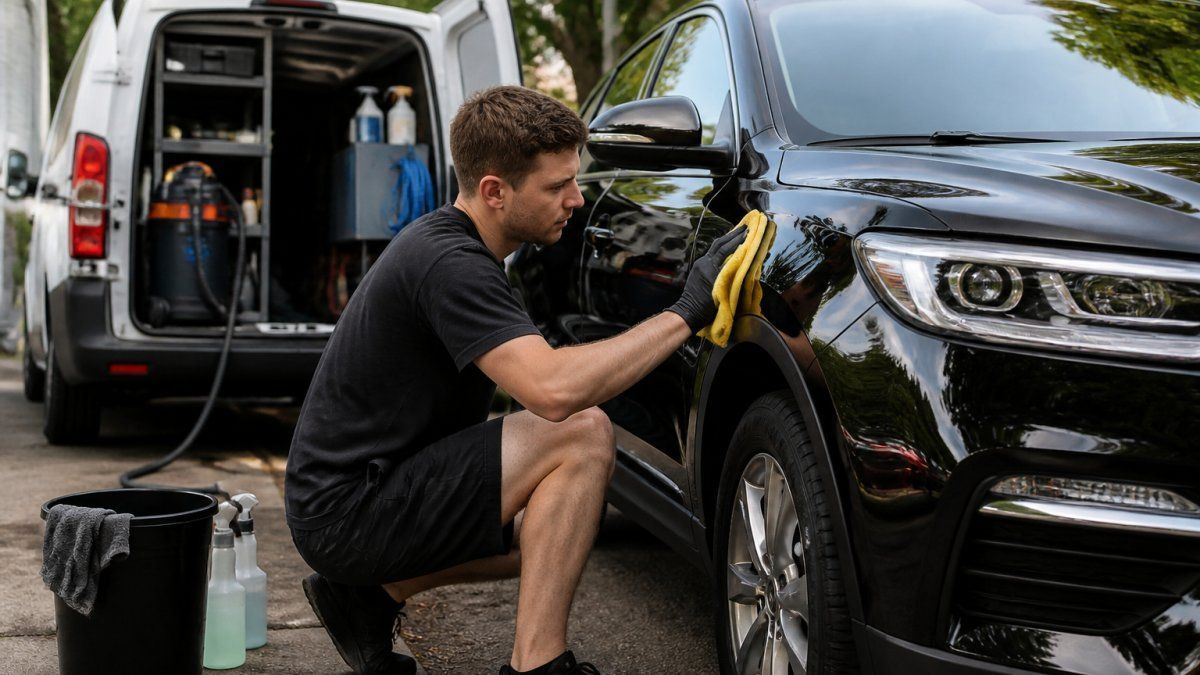
If you are unsure, get a professional inspection. At S.C.A. Detailing, we measure clear-coat thickness, identify what is removable, and give you a straight answer on whether correction is the right call for your vehicle. Our mobile unit brings the same equipment and spot-free water filtration we use in our shop to your home or workplace.
Frequently Asked Questions
Does paint correction ruin the clear coat?
Paint correction removes a microscopic layer of clear coat to level out defects, so it does reduce thickness slightly. A professional measures clear-coat thickness before polishing and uses the least aggressive method that works. On a healthy finish, a single-stage correction removes only a few microns, leaving plenty of clear coat for protection. The real risk comes from repeated aggressive polishing or over-polishing by someone without a paint depth gauge.
Can paint correction remove deep scratches?
Only if the scratch stays within the clear coat. Scratches you can feel with a fingernail, or ones that show a different color underneath, usually reach the base coat or primer. Polishing those away means removing too much material, which risks the paint. In those cases, touch-up paint or repainting the panel is the safer route. A test spot and paint inspection tell you which defects are correctable before any work starts.
How do I maintain paint after correction?
Correction restores gloss, but it does not protect the finish on its own. Most detailers recommend a ceramic coating or paint protection film right after correction, plus safe washing habits: two-bucket method, clean microfiber towels, and no automatic brush car washes. Park in shaded or covered areas when possible. With proper aftercare, the corrected finish holds its clarity far longer and you avoid reintroducing the same swirl marks.
Is professional paint correction better than a DIY kit?
DIY kits can work on light swirls, but they carry real risk. Without a paint depth gauge, a controlled machine polisher, and practice on test panels, it is easy to burn through clear coat or leave holograms and buffer trails. A professional brings measured defect removal, proper lighting, and the judgment to stop before damage occurs. If your paint is in good shape and you enjoy the process, DIY is an option; for valuable or heavily swirled vehicles, professional correction is the safer choice.